Year 9 ‘Powerful Portraits’ Photography Work - Term 2/3
( if you miss the lesson for any reason you should still complete both classwork and homework)
Lesson 1 - Computer Set-Up, Template Design & Initial Research
Classwork : One half of the class will spend the next 5 lessons completing a variation of the ‘Powerful Portraits’ Photography project. This links with the work pupils missed in Year 8, due to Lockdown measures and working in bubbles.
Firstly, check your computer so that you know how to access the various features needed - these include your email, PowerPoint, Google Chrome and the internet, Adobe Bridge and Adobe Photoshop.
IMPORTANT NOTICE : To access the features needed, it is important that you use the desktop version of PowerPoint (not Office 365 online)
Secondly, watch the ‘Powerful Portraits Introduction’ video below and then download the ‘Powerful Portraits PowerPoint Template’. In this first lesson students should aim set up the template and headings for each section. Consider the following as high quality layout and presentation is important,
Background colour
Font colour and size
Heading positions
Borders
Powerful Portraits Introduction
Finally, Start your general research by collecting two slides full of examples (about 20 -30 pictures) of ‘Powerful Portraits’ (Slides 3 and 4 on your presentation). Aim to ‘group’ and annotate the pictures you collect. Setting up a Pinterest account will improve the quality of pictures you will be able to collect.
Homework: Complete setting up the template and headings for each section. Also complete Slides 3 and 4 of the presentation. Aim to ‘group’ and annotate the pictures you collect. Setting up a Pinterest account will improve the quality of pictures you will be able to collect.
Lesson 2
Classwork : This lesson is about analysing and Writing about photography in detail (students will also be given general advice given in class on how to take the 24 ‘photographs).
On Side 5 students should write about 3 pictures (from those collected on Slides 3 and 4) that inspire them. When writing about each picture aim to include the following (the description is based on your opinions and not on any research),
Highly detailed creative writing including,
What is the story behind the photograph?
Who is it and why are they like this?
What has happened/is happening to them?
Highly detailed descriptive writing including,
What the photograph shows
Who is it?
What can you see?
What can’t you see?
Colour and lighting
Techniques used
Homework: Complete writing about 3 pictures on Slides 5. When writing about each picture aim to include high detailed evidence of both descriptive and creative writing.
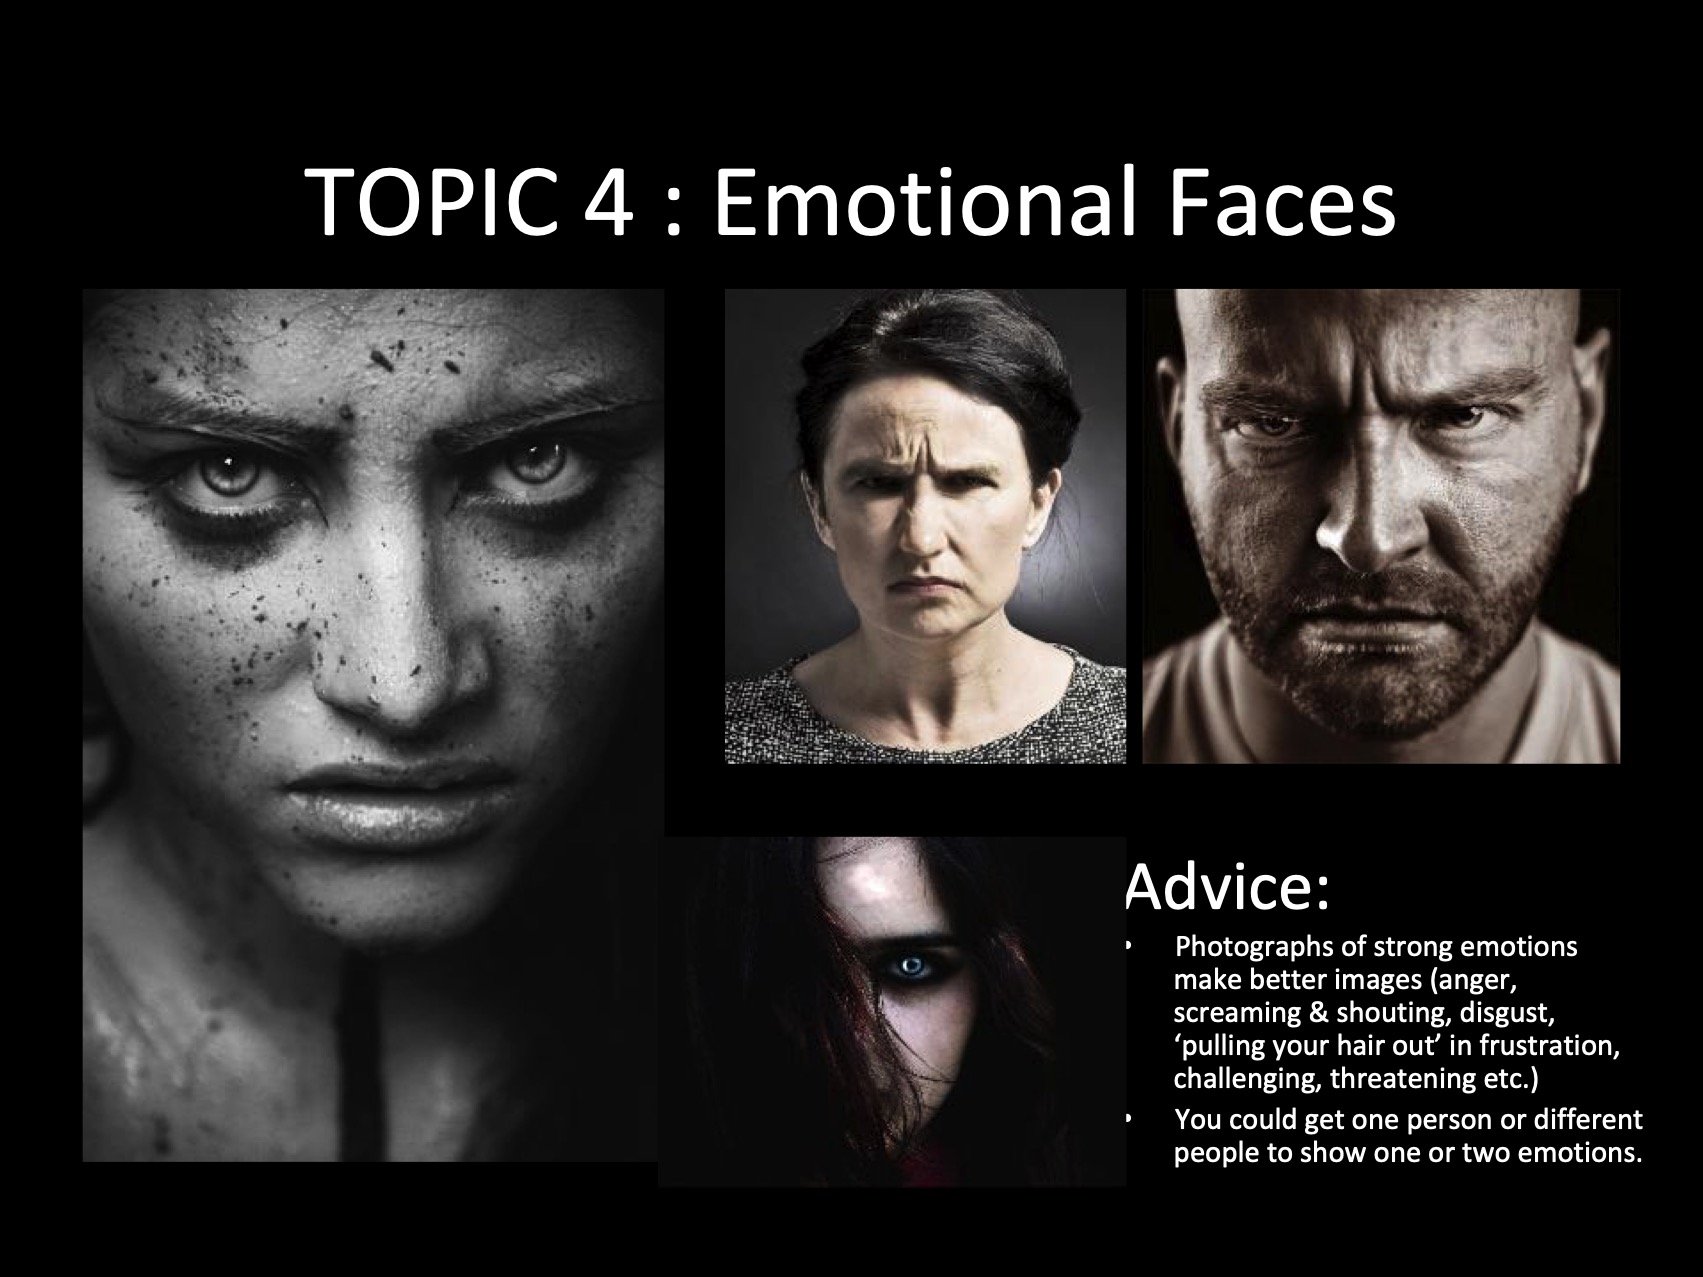
Students also need to take 24 of your own photographs based on one of the 4 ‘Powerful Portraits’ topics shown below. Also follow the general advice given in class on how to take the 24 ‘photographs. Students need to come to the lesson with the 24 photographs already removed from their phone and on a memory stick.
If students need help they should bring their phone to the art room so that pictures can be copied onto the shared drive or a memory stick. These should then be transferred to students own document area for editing.


Lesson 3
Classwork : Please note that Year 9 student do not produce Slide 6 (the ‘wordle’).
In this lesson students will research DAVID HOCKNEY and present this on Slides 7 and 8. Slide 7 should be completed in class and Slide 8 for homework. Students will need to carefully follow the advice given below.
Students will also shown how photographs can be quickly copied from phones and placed on the school computers.


Layout Possible Suggestion

Example Page
Homework: Students complete Slide 7 if they did not do this in class, then complete Slide 8 for homework following the advice given below.


Layout Possible Suggestion

Example Page
Lesson 4
Classwork : In this lesson students will use the 24 photographs they have taken and use Adobe Bridge to make a contact print. The contact print can be ‘screenshot’ or saved as a pdf and copied onto Slide 9. Student should watch the ‘Making a Contact Print’ video below for instructions.
Making a Contact Print with Adobe Bridge
Homework: Students complete the annotations on the contact sheet on Slide 9. Students should also complete Slide 10 by choosing and writing about the two favourite photographs they intend to edit.
Lesson 5
Classwork : Students will now have this lessons, and a further 2 lessons, to edit one of their 12 (or 24 photographs). The editing videos are on the student shared drive/Art Shared/Y2/Lesson 6 - Editing Videos.
There is a choice of editing in colour:
Students watch the ‘Colour Portrait Editing’ video and edit a pictures to edit in colour.
Experiment with colour, brightness, contrast, saturation and sharpening/blurring etc based on the techniques shown in the video.
Take screenshots and lay out the Slide 11.
Also include a slide with the final edited colour picture and evaluation.
or editing in black and white:
Students watch the ‘Black and White Editing Portrait Editing’ video and edit a pictures to edit in colour.
Experiment with darkness, brightness, contrast, and sharpening/blurring etc based on the techniques shown in the video.
Take screenshots and lay out the Slide 11.
Also include a slide with the final edited black and white picture and evaluation.
Homework: Students complete editing work and the final ‘Powerful Portraits’ Photography project evaluation.
Lesson 6
Classwork : Continue with Powerful Portraits Photography Unit.
Homework: Students complete editing work.
Lesson 7
Classwork : Students complete the Powerful Portraits Photography unit evaluation, and make final improvement to the slide show presentation.
Homework: Complete the Powerful Portraits Photography unit and email to your teacher.