


Year 8 - ‘Powerful Portraits’ Photography Unit
( if you miss the lesson for any reason you should still complete both classwork and homework)
Lesson 1 - Template Design & Initial Research
Classwork : One half of the class will spend the next 7 lessons completing the ‘Powerful Portraits’ Photography project.
Firstly, watch the ‘Powerful Portraits Introduction’ video below (NOTE that this year students will not produce the word art slide shown in the video )
Powerful Portraits Project Introduction
Then download the ‘Powerful Portraits PowerPoint Template’. In this first lesson students should aim set up the template and headings for each section. Presentation needs to be consistent and accurate. Consider the following,
Background colour of slides
Font colour and size (headings, sub-heading and written text)
Heading positions (needs to be consistent on each slide)
Borders
Powerful Portraits Project - Example 1 (without sound)
Powerful Portraits Project - Example 2 (without sound)
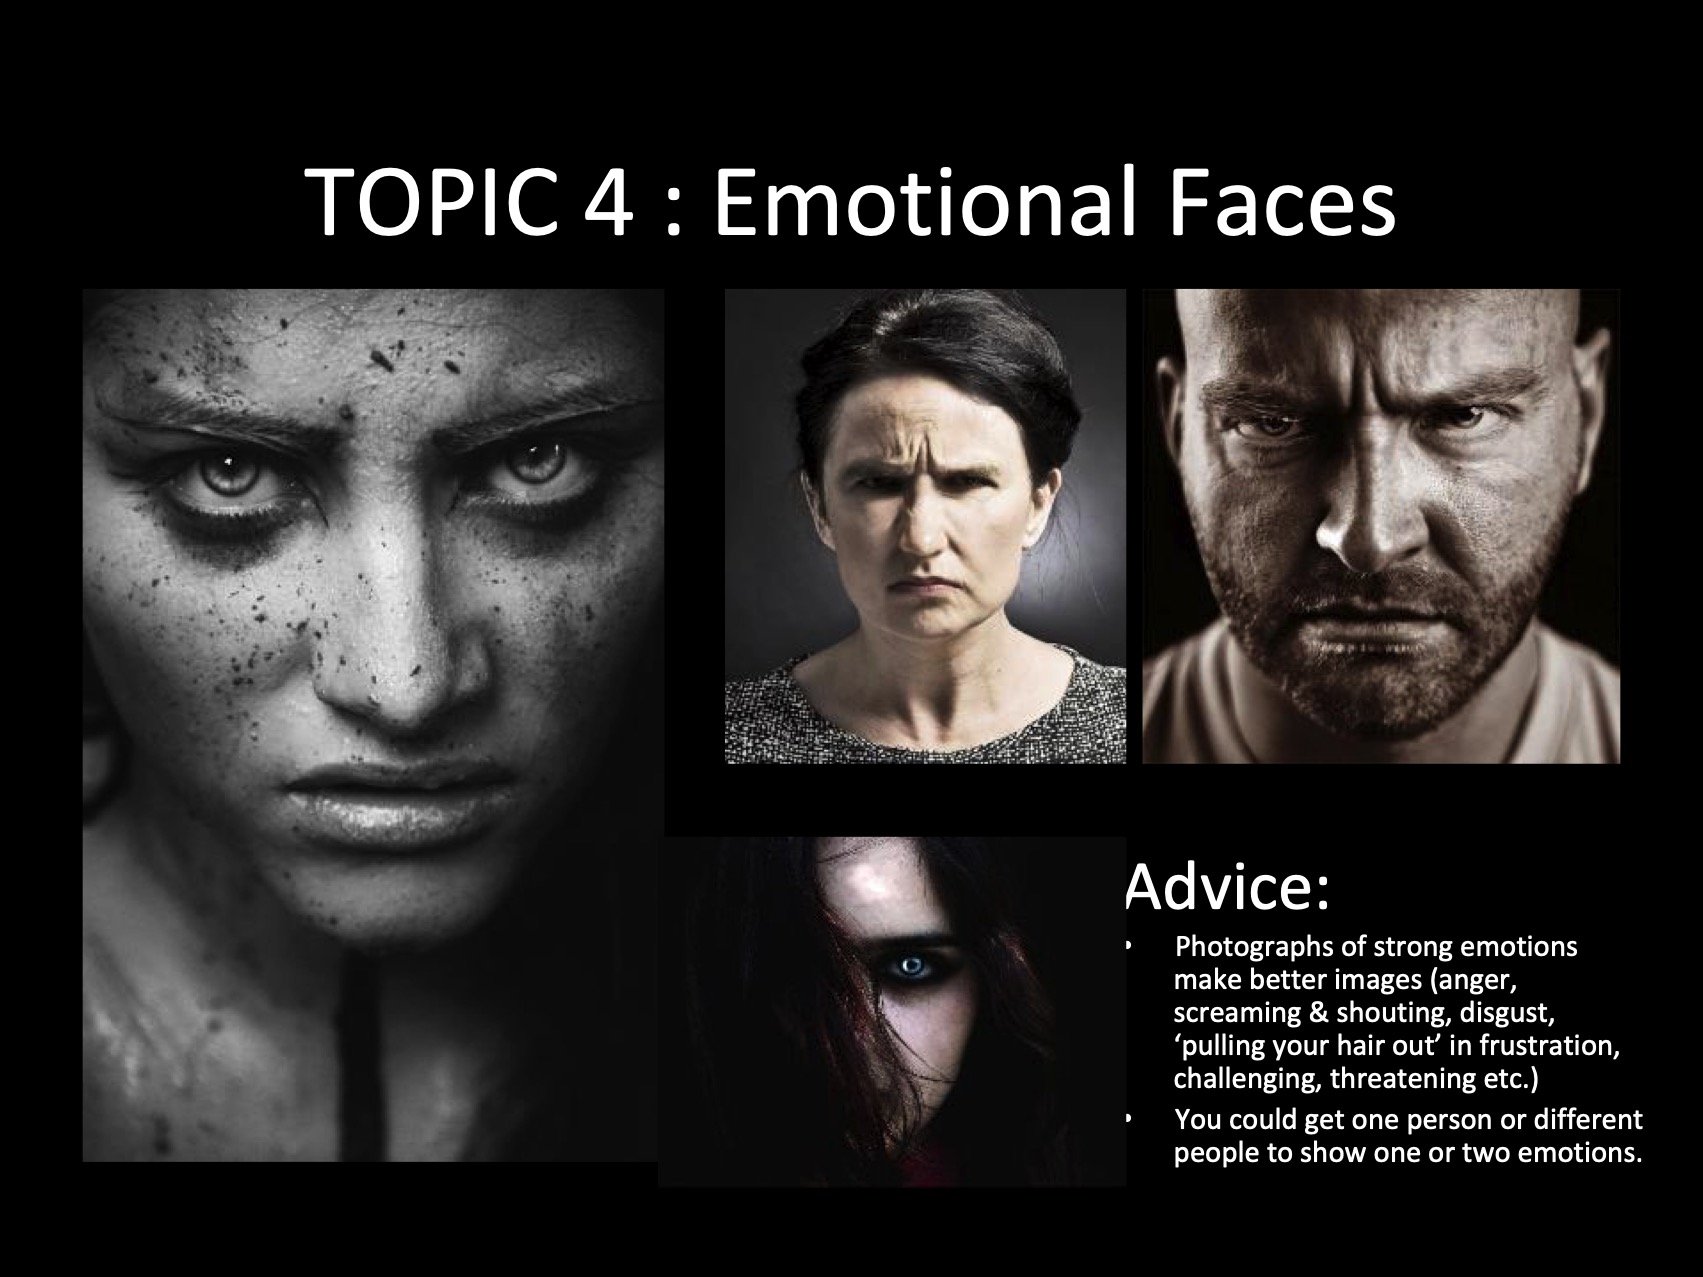
Finally, Complete the title slide (Slide 1 - it is a good idea to leave Slide 2 until the end of the project), and then start the general research by collecting pictures for Slides 3 and 4 (about 10 -15 pictures on each slide) Aim to ‘group’ and annotate the pictures you collect using 2 or 4 of the topics below (so either one or two topics on each of slide 3 and 4). Setting up a Pinterest account at home will improve the quality of pictures you will be able to collect.


Homework: Complete setting up the template and headings for each section. Also complete Slides 3 and 4 of the presentation. Aim to ‘group’ and annotate the pictures you collect. Setting up a Pinterest account at home will improve the quality of pictures you will be able to collect.
Deadline : The deadline will always be your next Art lesson unless stated otherwise on CLASSCHARTS.
Lesson 2
Classwork : This lesson is about analysing and Writing about photography in detail.
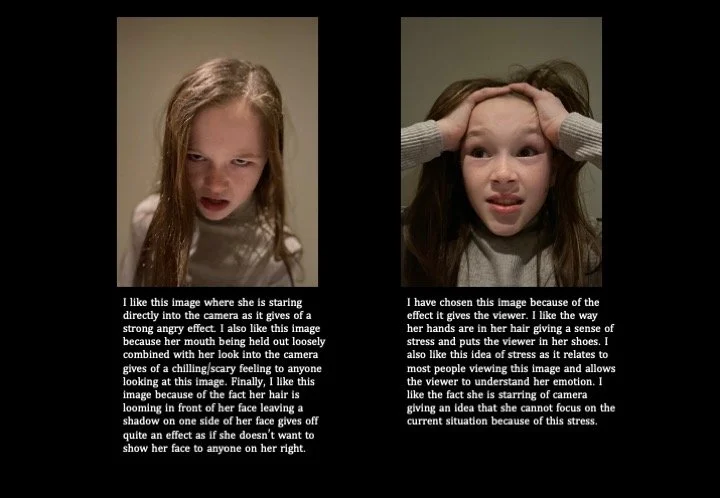
On Side 5 students should write about 2 or 3 pictures that inspire them (see examples below). When writing about each picture aim to include the following (the description is based on your opinions and not on any research),
Highly detailed creative writing including,
What is the story behind the photograph?
Who is it and why are they like this?
What has happened/is happening to them?
Highly detailed descriptive writing including,
What the photograph shows
Who is it?
What can you see?
What can’t you see?
Colour
Lighting

Slide 5 - Example 1

Slide 5 - Example 2
Homework: Complete writing about the 2 or 3 pictures on Slides 5. When writing about each picture aim to include high detailed evidence of both descriptive and creative writing.
Deadline : The deadline will always be your next Art lesson unless stated otherwise on CLASSCHARTS.
Lesson 3
Classwork : In this lesson students will research one of the 5 photographers listed below and present this information on Slides 6 and 7. Slide 6 should be completed in class and Slide 7 for homework. Students will need to carefully follow the advice given below (NOTE that this year students will not produce the word art slide shown in the ‘Powerful Portraits Introduction’ video shown in Lesson 1)
Students will also be given advice on how to take their own 12 ‘Powerful Portraits’ photographs for homework.
Students should choose to research one of the following 5 photographers,

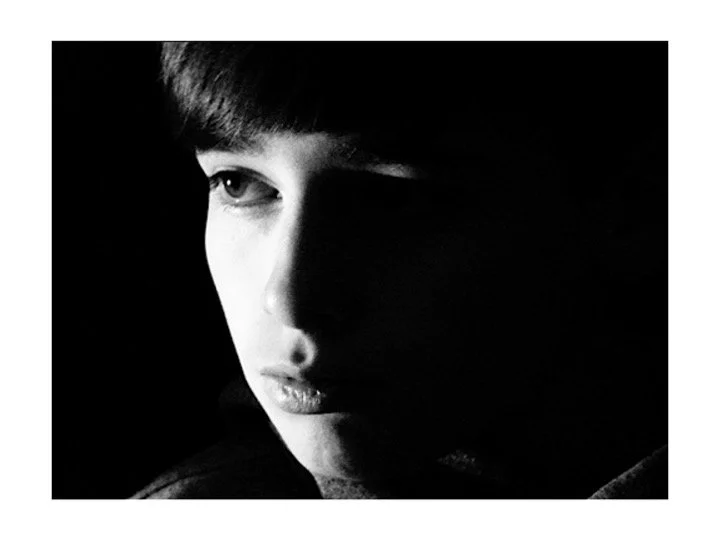
Richard Avedon - portraits from the world of fashion and celebrity, mostly in black & white

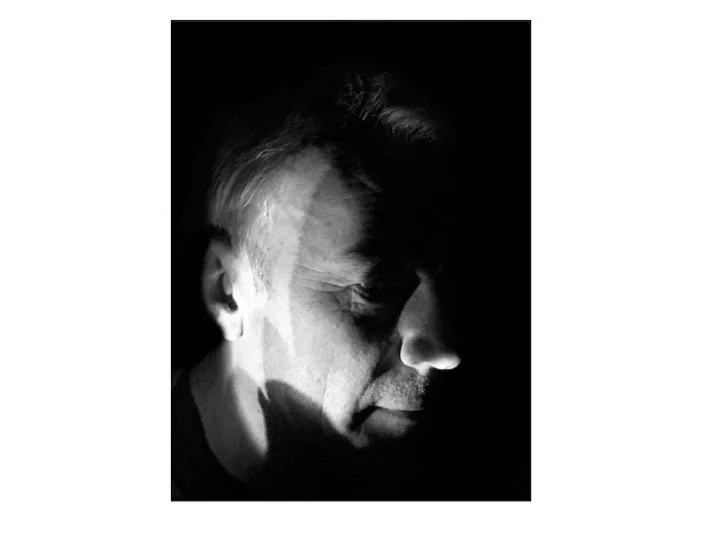
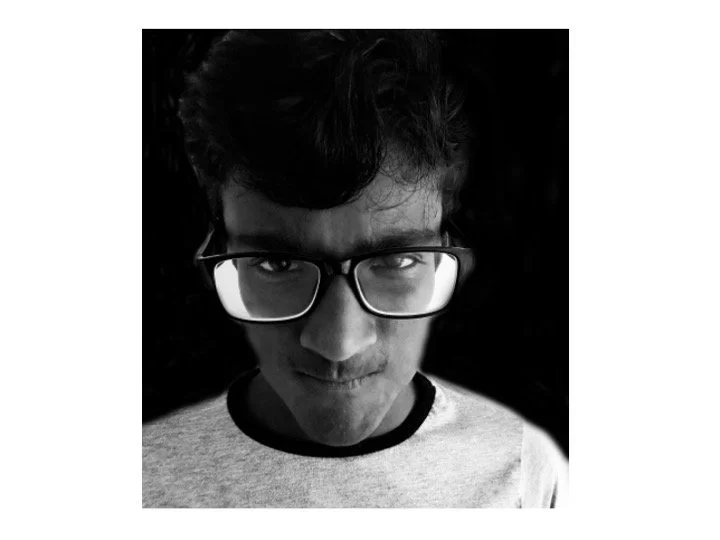
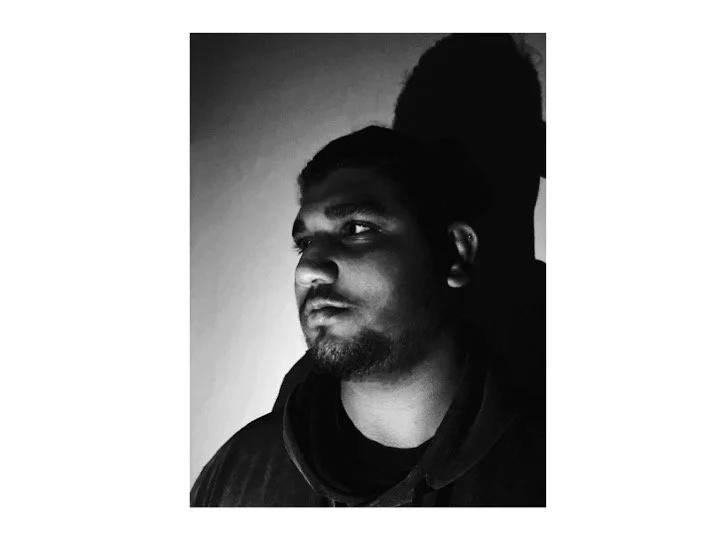
Lee Jeffries - memorable images, mostly in black & white, of homeless people

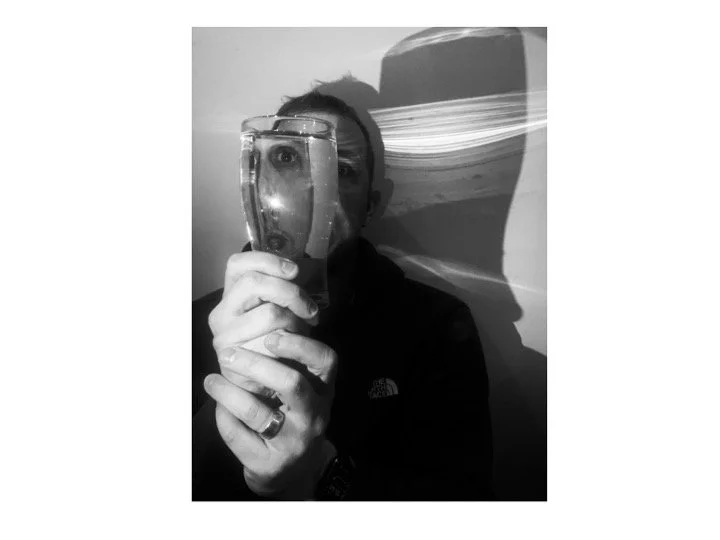
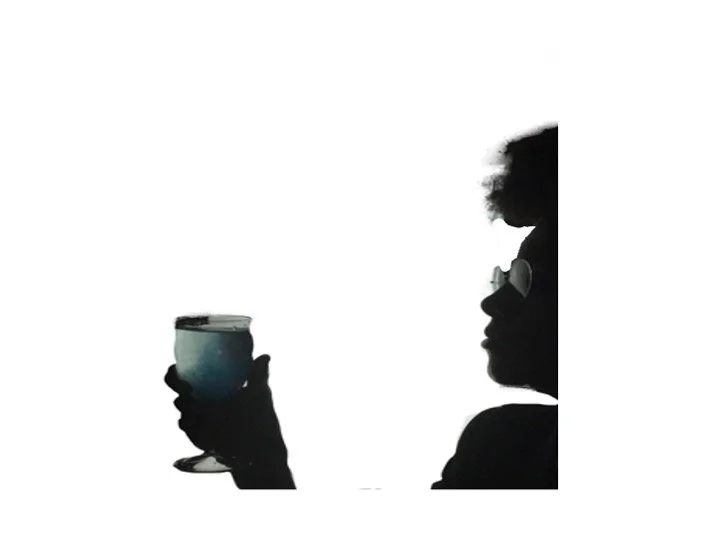
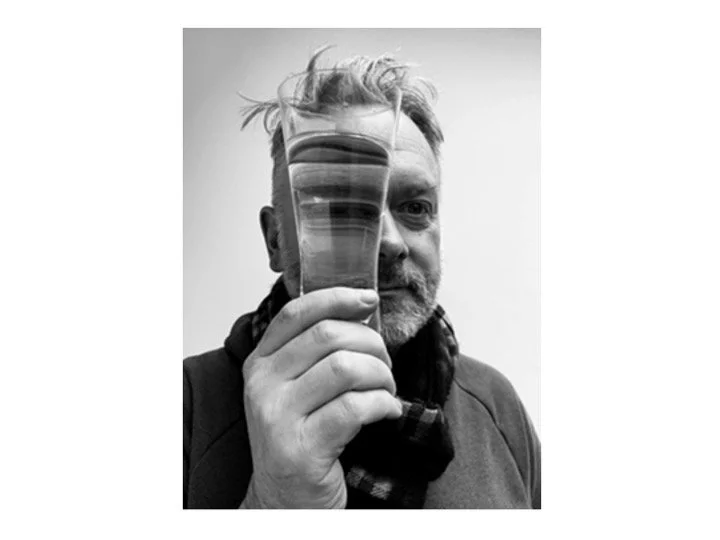
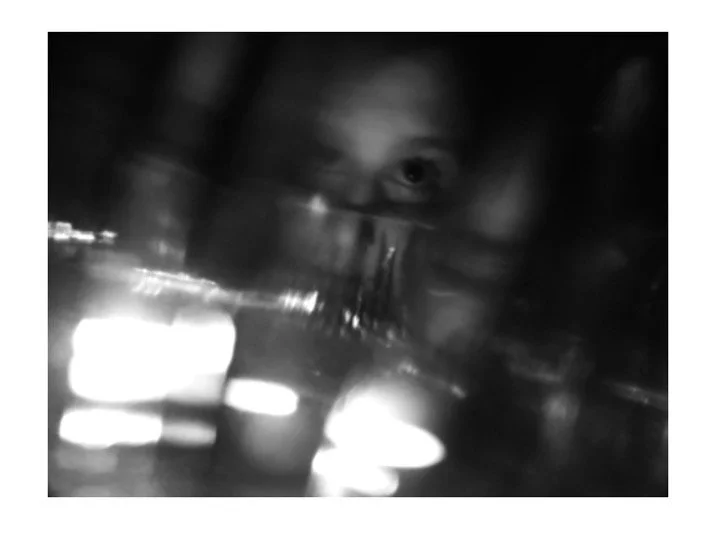
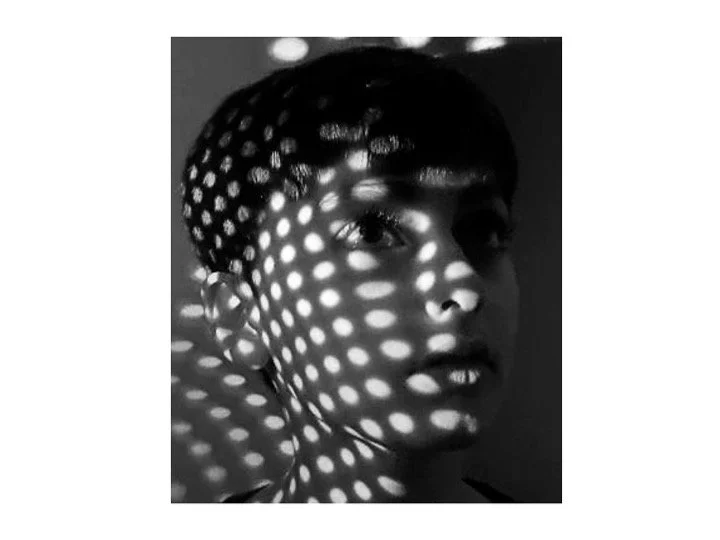
Russ Rowlands - images mostly in black & white, ‘though the looking glass’ series is the most relevant

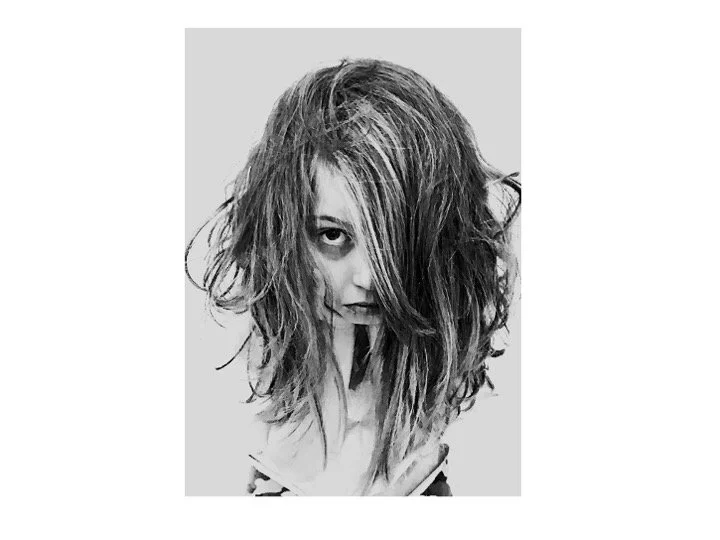
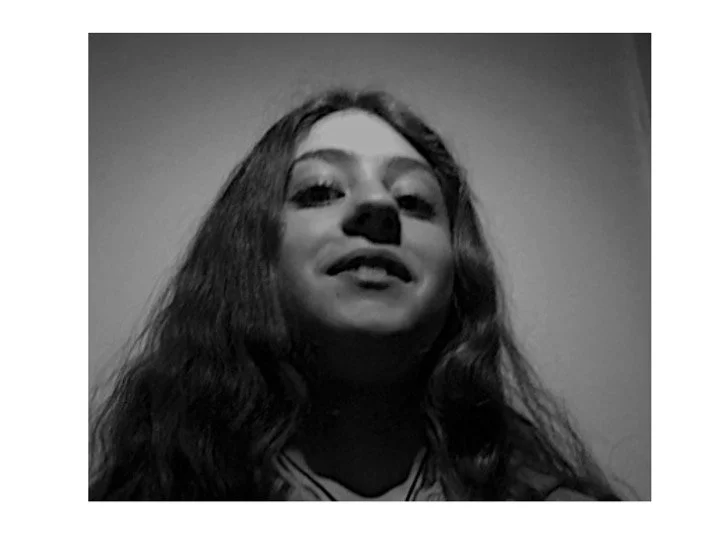
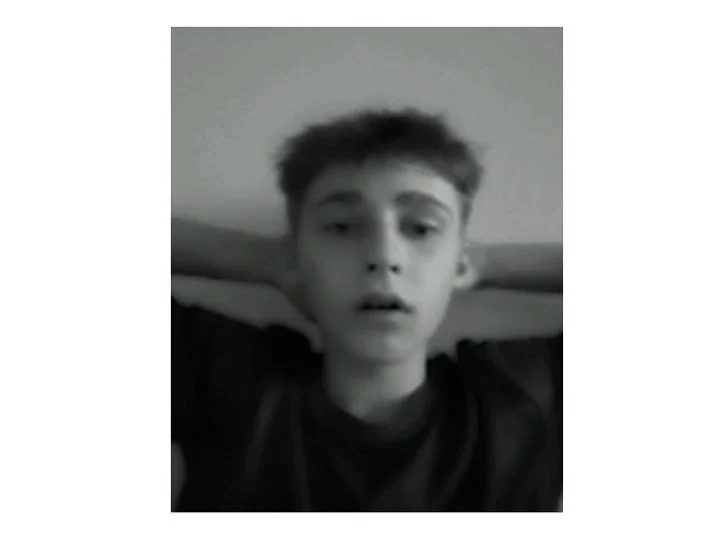
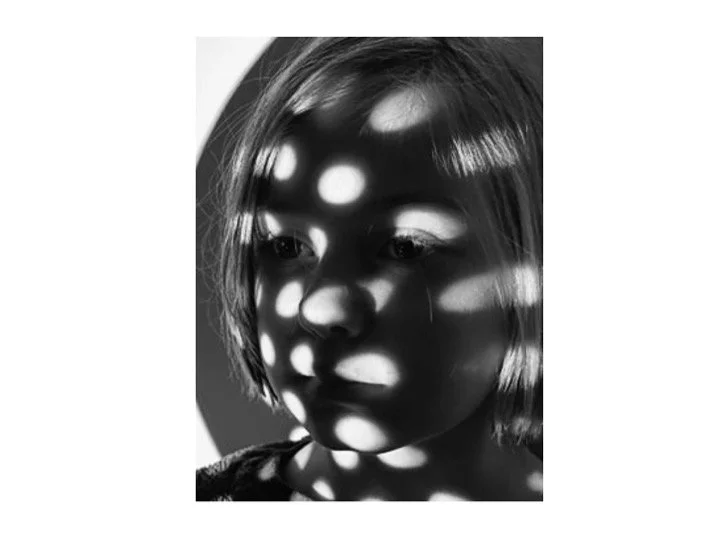
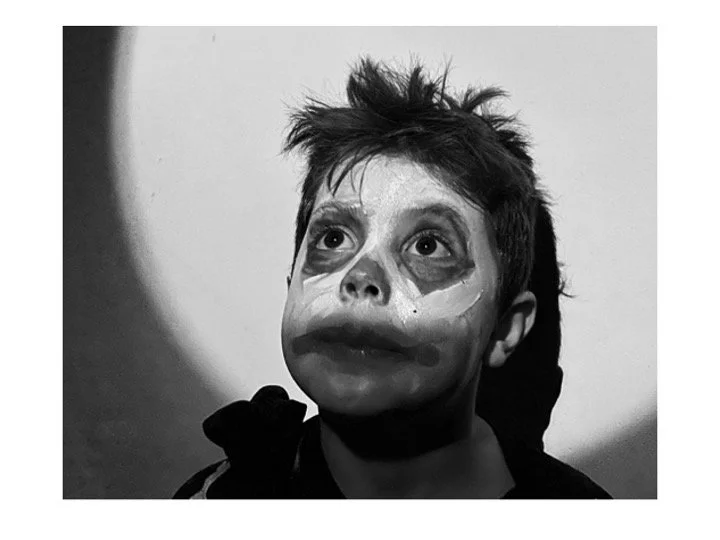
Deborah Parkin - images mostly in black & white with deliberated blurred areas, mostly of young people

Steve McCurry - portraits from around the world with highly saturated colour

Slide 6 guidance
Homework: Students need to take 12 of your own photographs based on one of the 4 ‘Powerful Portraits’ topics shown in Lesson 1. Also follow the general advice given in class on how to take the 12 ‘photographs . Students need to come to the lesson with the 12 photographs already removed from their phone and on a memory stick.
If students need help they should bring their phone to the art room so that pictures can be copied onto the shared drive or a memory stick. These should then be transferred to students own document area for editing.
Students also complete Slide 6 if they did not do this in class. Student then complete Slide 7 for homework following the advice given below.

Slide 7 guidance

Deadline : The deadline will always be your next Art lesson unless stated otherwise on CLASSCHARTS.
Lesson 4
Classwork : NOTE : Because of issues a number of students have been experiencing with Adobe Bridge, the 12 photographs can now be copied or dragged directly into the PowerPoint for Slide 8. Thus Adobe Bridge no longer needs to be used to produce Slide 8.
In this lesson students will use the 12 photographs they have taken and use Adobe Bridge to make a contact print. The contact print can be ‘screenshot’ or saved as a pdf and copied onto Slide 8. Student should watch the ‘Making a Contact Print’ video below for instructions.
NOTE : this year students have been asked to take 12 photographs so in Adobe Bridge the settings are 4 columns and 3 rows (not 6 columns and 4 rows).
Making a Contact Print with Adobe Bridge
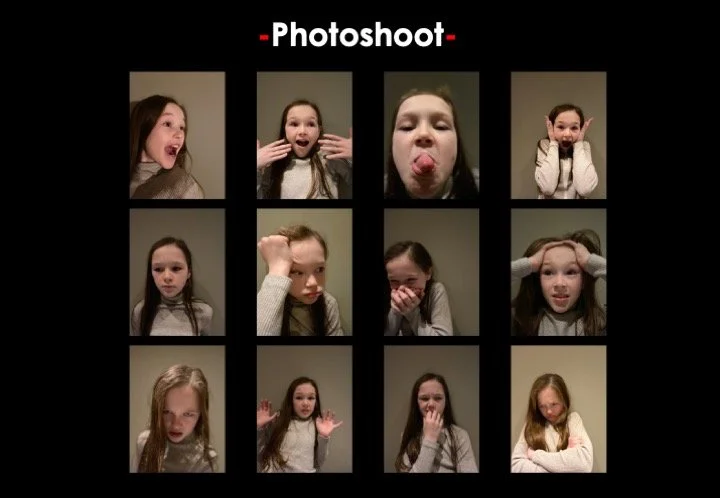
Slide 8 - Example
NOTE : this year students have been asked to take 12 photographs as in the example above - so in Adobe Bridge the settings are 4 columns and 3 rows
Homework: Students complete Slide 8. Students should also complete Slide 9 by choosing and writing about the two favourite photographs they intend to edit.
Slide 9 - Example 1
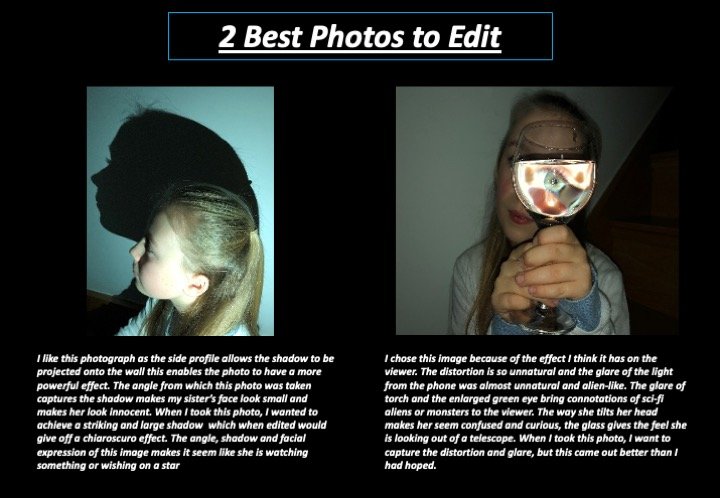
Slide 9 - Example 2
Deadline : The deadline will always be your next Art lesson unless stated otherwise on CLASSCHARTS.
Lesson 5
Classwork : Students will now have three lessons and homeworks to edit one of their 12 photographs in black and white. There is also optional extension work to edit a photograph in colour. The editing videos are on the student shared drive/Art Shared/Y8/Lesson 5 - Editing Videos.
Editing in black and white:
Students watch the ‘Black and White Editing’ video and edit a pictures in black and white.
Experiment with different way to create a black and white image using the various editing techniques shown in the video.
Take screenshots and lay out the Slide 10.
Also include a slide with the final edited black and white picture and evaluation.
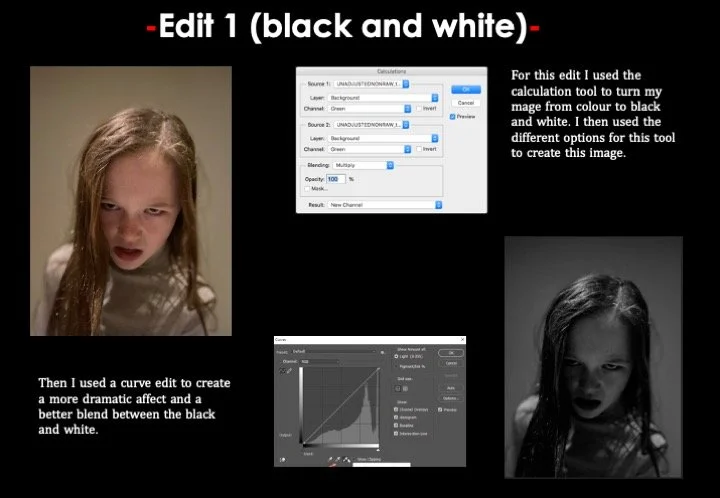
Slide 10 - Example 1
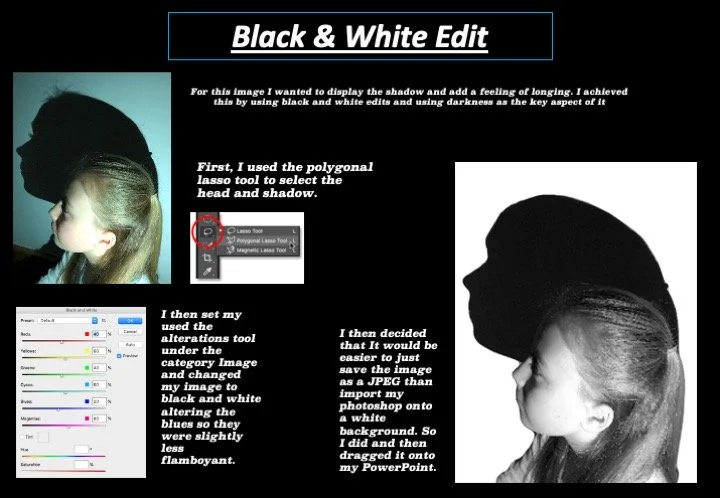
Slide 10 - Example 2
Editing in colour (optional extension work):
Students watch the ‘Colour Portrait Editing’ video and edit a pictures to edit in colour.
Experiment with colour, brightness, contrast, saturation and sharpening/blurring etc based on the techniques shown in the video.
Take screenshots and lay out the the next slide in the presentation.
Also include a slide with the final edited colour picture and evaluation.
Homework: Students continue with editing work.
Deadline : The deadline will always be your next Art lesson unless stated otherwise on CLASSCHARTS.
Lesson 6 & 7
Classwork : Students now have two lessons to continue with the black and white editing work (and any colour editing extension work they choose to complete).
Also use this lesson to complete Slide 2 and the ‘Project Statement’.
Homework: Students complete the editing slides and final evaluation(s). For the final evaluation student should include the following,
The final ‘Narrative’ which explains your Powerful Portrait photo ideas (this is similar to Slide 2) but also includes a description of your final edited photo(s) explaining it using both descriptive and creative writing (see lesson 2 for a reminder of what to include).
Explain what went well in the project.
Explain any thing you would change or do differently.
The final PowerPoint presentation needs to be emailed to your teacher for homework. Name the file Your Name and Form - Powerful Portraits Project (ie. John Smith 8A - Powerful Portraits Project)
Deadline : The deadline will always be your next Art lesson unless stated otherwise on CLASSCHARTS.